Supply88
Digital Downbearing Gauge
Digital Downbearing Gauge
Couldn't load pickup availability
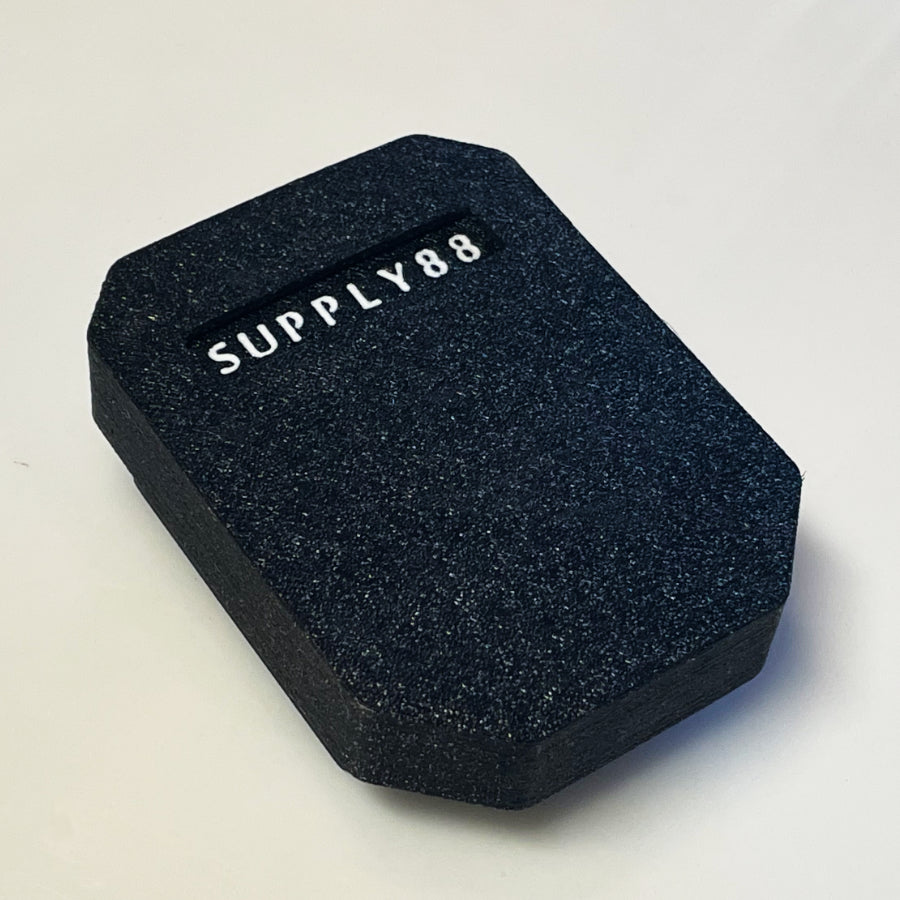
This digital gauge gives a quick downbearing angle measurement. The Zero button allows grand or vertical pianos to be measured, while compensating for any tilt angle present in the bridge. The displayed reading may be frozen at any time by pressing the Hold button. The flexible TPU slip-on cover protects the screen and measurement surfaces, while preventing the power button from accidentally being pressed when not in use.
- Batteries are NOT included - requires (2) AAA batteries. Battery cover on the back side of the gauge is secured with a small Phillips head screw.
- LCD display color may differ from photo.
Instructions for using the Supply88 Digital Downbearing Gauge:
1. Zero Calibration (if needed):
Rotate the gauge so the protrusion on the top of the gauge is facing the bridge cap. Gently place the gauge on the wire to be measured, between the bridge pins. Due to the very short segment of wire being contacted during this process, a light touch and a steady hand will be needed to make sure the gauge is truly resting flat to the wire, and not rocking one way or the other. For grand pianos, if the displayed angle is very close to zero, this means the bridge cap is basically level to the horizon, and it's okay to proceed to the next step.
But if the bridge cap reading is far enough from zero that it will significantly impact your measurement, carefully press the Zero (0) button while holding the device steady. It is best to use one hand to hold the gauge steady while using the other hand to gently press the button. The display should now read zero when the gauge is resting on the wire between the bridge pins, which means the subsequent downbearing measurement will now give the exact angle with respect to the section of wire passing over the bridge cap.
2. Measure the Downbearing:
Both the speaking side and non-speaking side can be measured, using the same zero calibration from the previous step. With the gauge flipped 180 degrees from the previous step, gently rest the posts of the gauge on the wire. It does not matter if you use two of the three posts (top of photo), or all three posts (bottom of photo), but using all three provides a more stable measurement.
Alternate approach: If you only care to know the sum of both angles (speaking length to bridge angle plus the non-speaking length to bridge angle), you could simply place the gauge on the speaking length, press the zero button to make that the reference angle, and place the gauge on the non-speaking length to measure the angle. This will give you the total combined angle between the speaking length and non-speaking length, but not provide any indication of how each length contributes to the overall result.
3. Using the Hold button:
If you wish to freeze the display at the current reading, press the Hold button while the gauge is still in the measurement position.